DIY: Building your own rotating PSF-based high-speed camera
What you'll need:
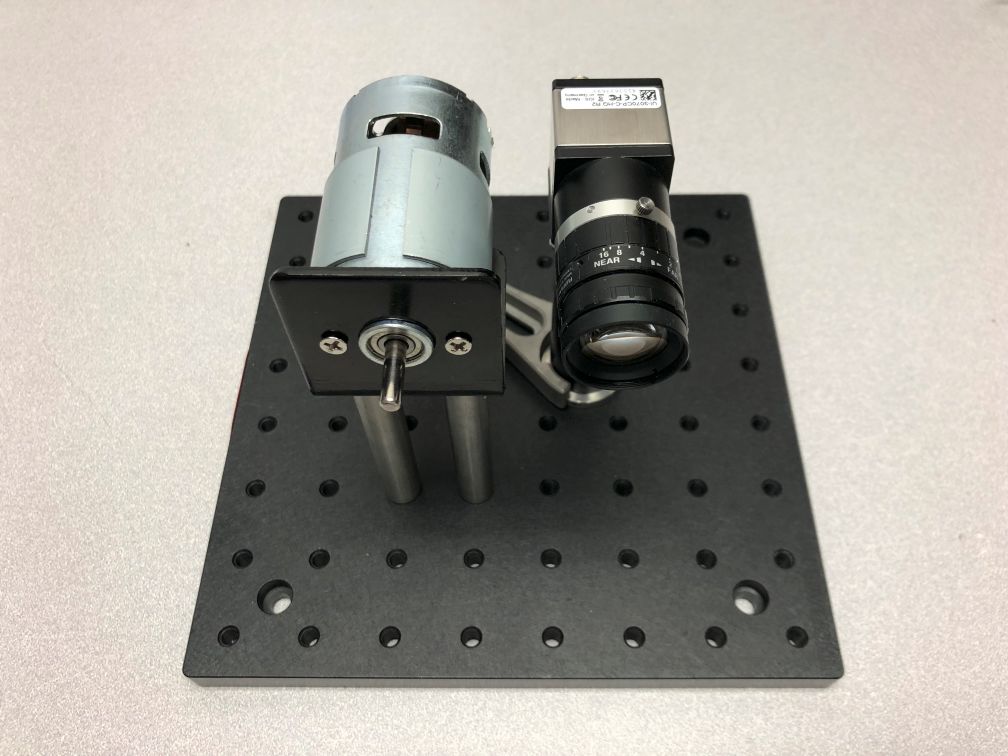
- A global shutter camera. A rolling shutter camera might work with a long enough exposure time, but we haven't robustly tested it.
- A clear, sturdy disk - we used acrylic with this 6" design.
- A sheet of diffraction grating - we used this.
- A motor - we used this.
- A way to attach the disk to the motor - we used a shaft coupling, combined with an additional smaller aluminum disk with this 2" design.
- A way to mount everything together.
- A pair of scissors
- Tape
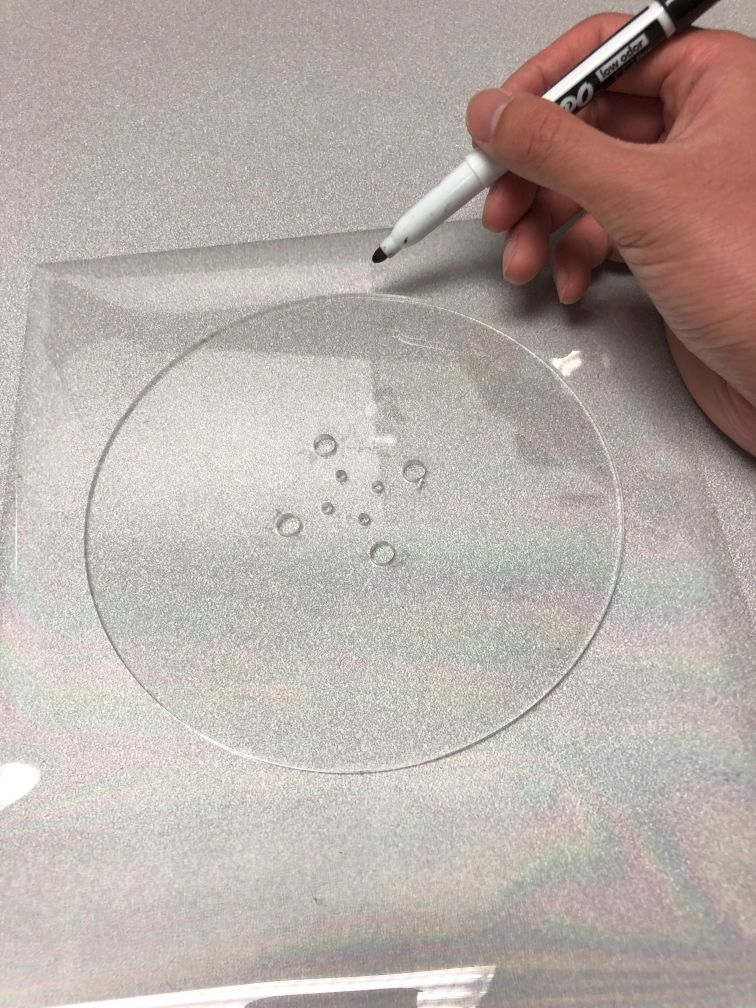
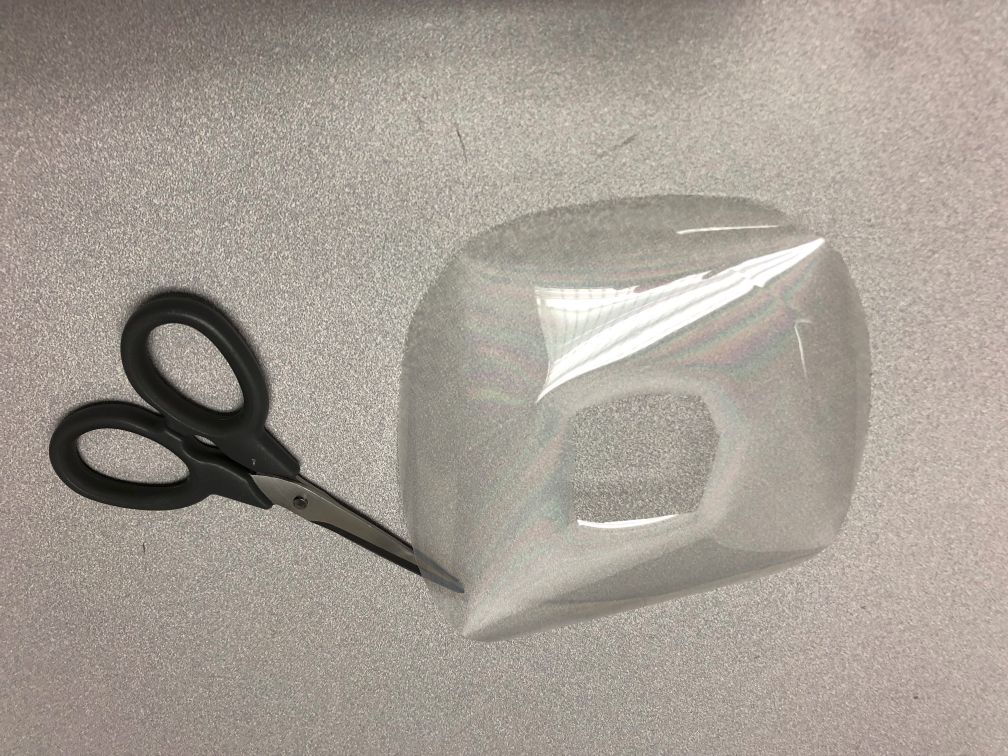
Step 1: Cut the grating to fit onto the disk
Use the scissors to cut the sheet of diffraction grating to the appropriate size. A pen can be useful for marking where to cut along the disk. Be sure to also cut a hole for where you will attach the disk to the motor.
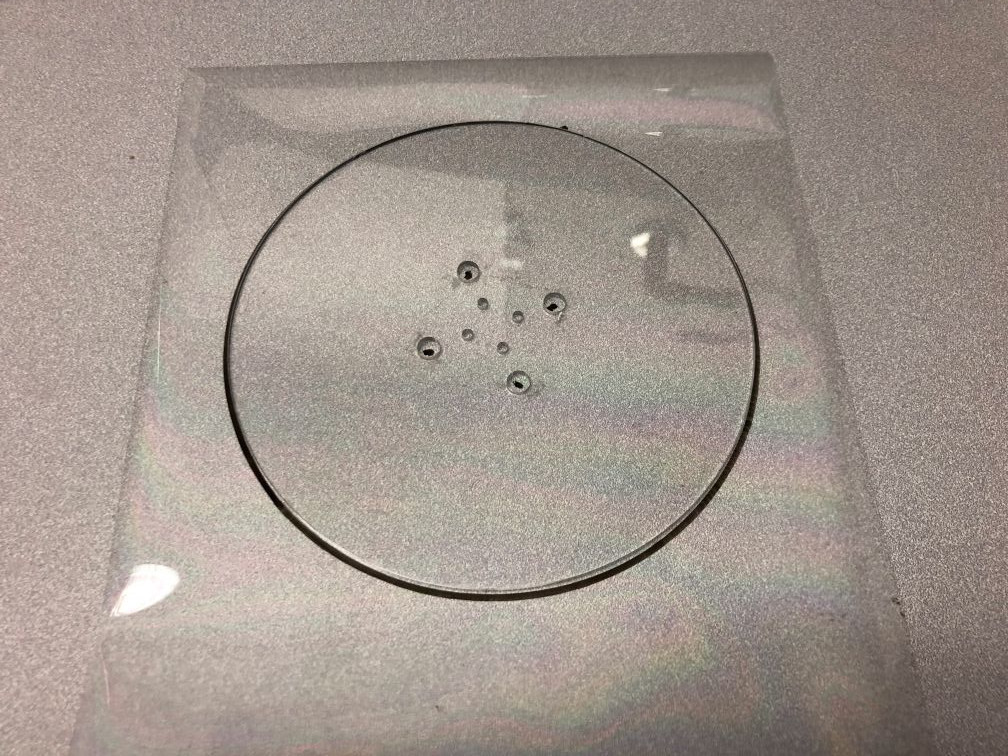
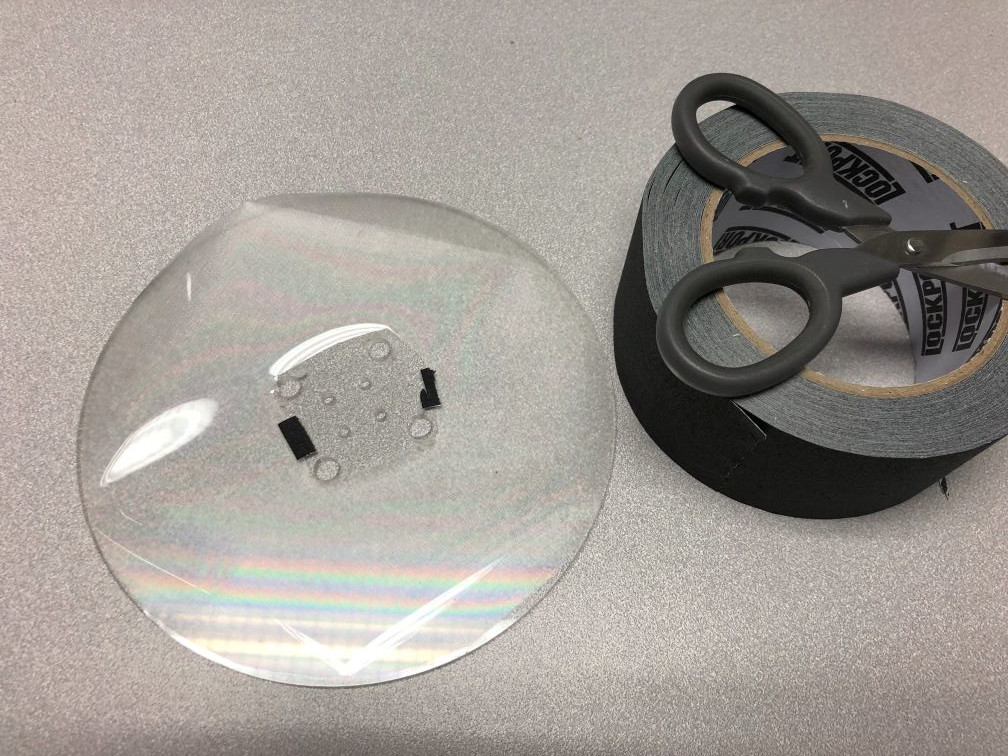
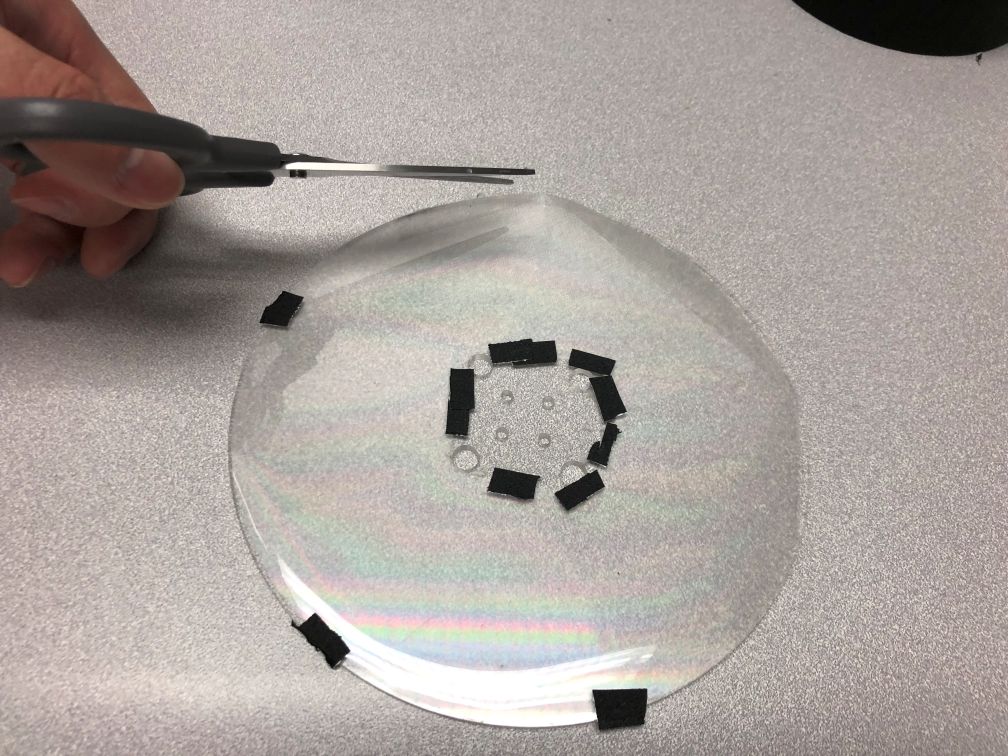
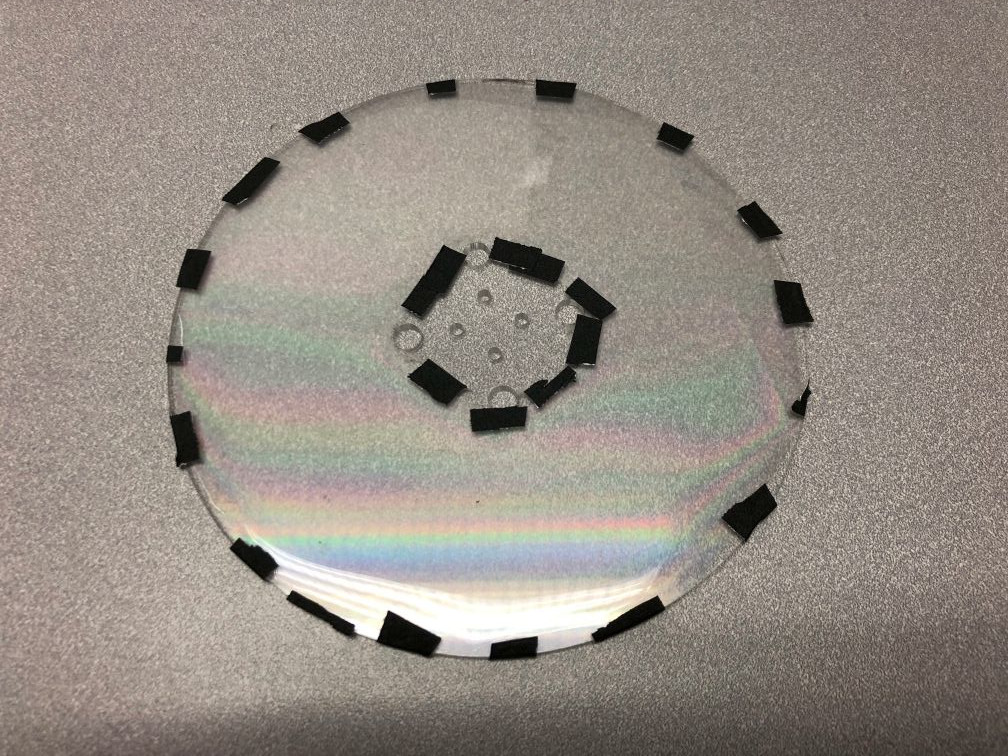
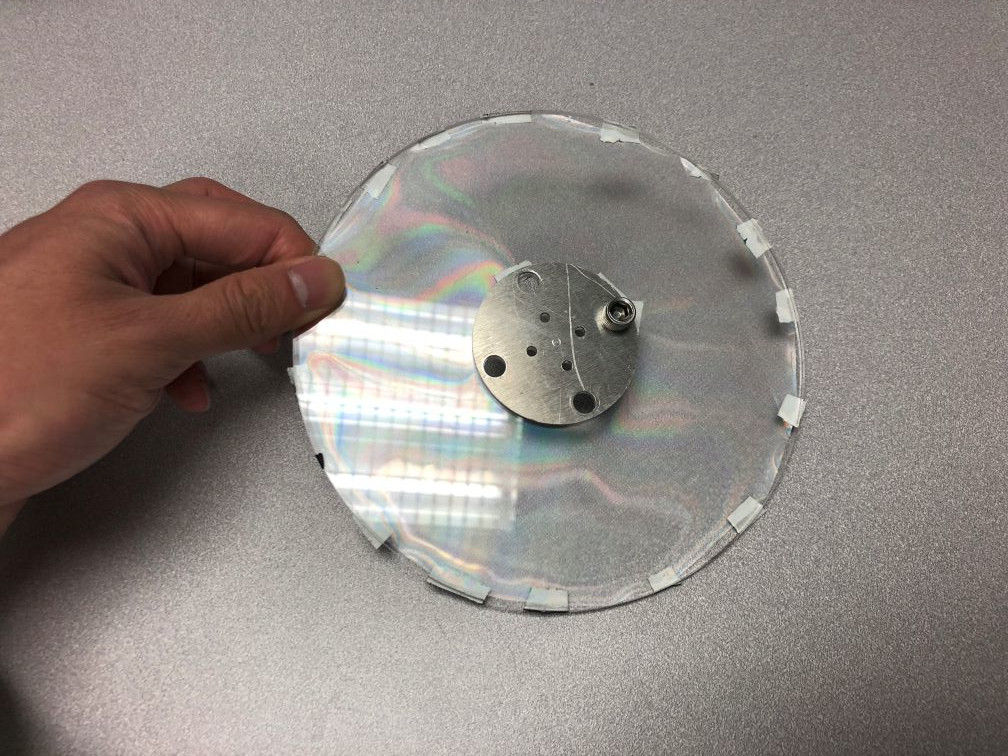
Step 2: Tape the grating to the disk
Use small strips of tape to attach the sheet to the disk. Try and use the tape such that the sheet stays relatively flat on the disk, and don't be afraid to cut the grating sheet to make sure it fits.
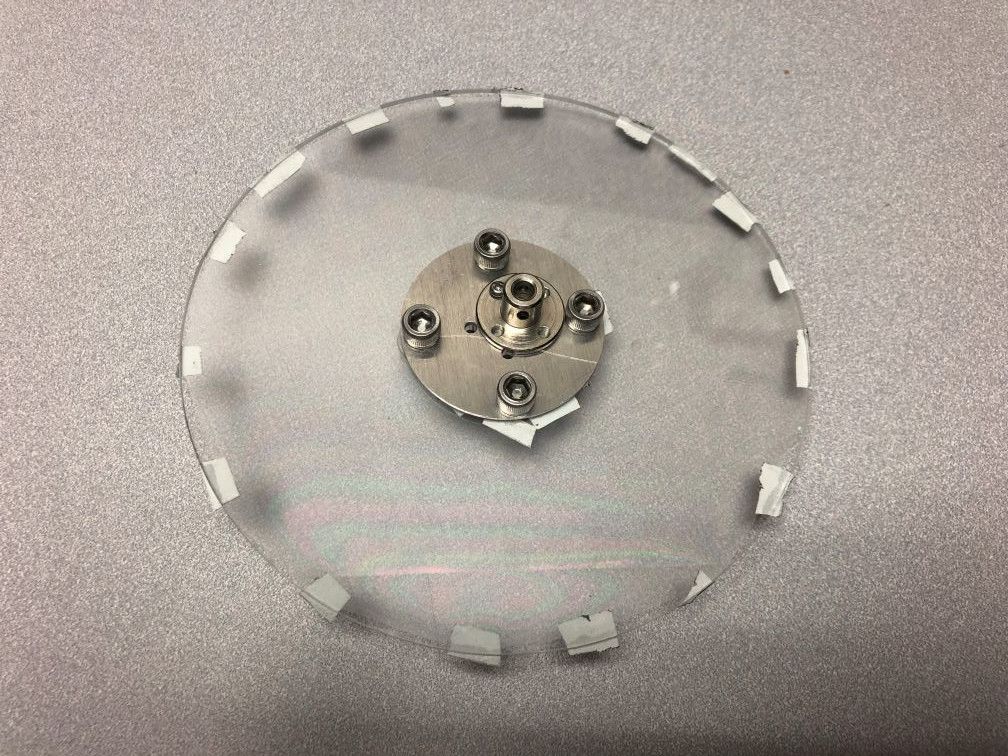
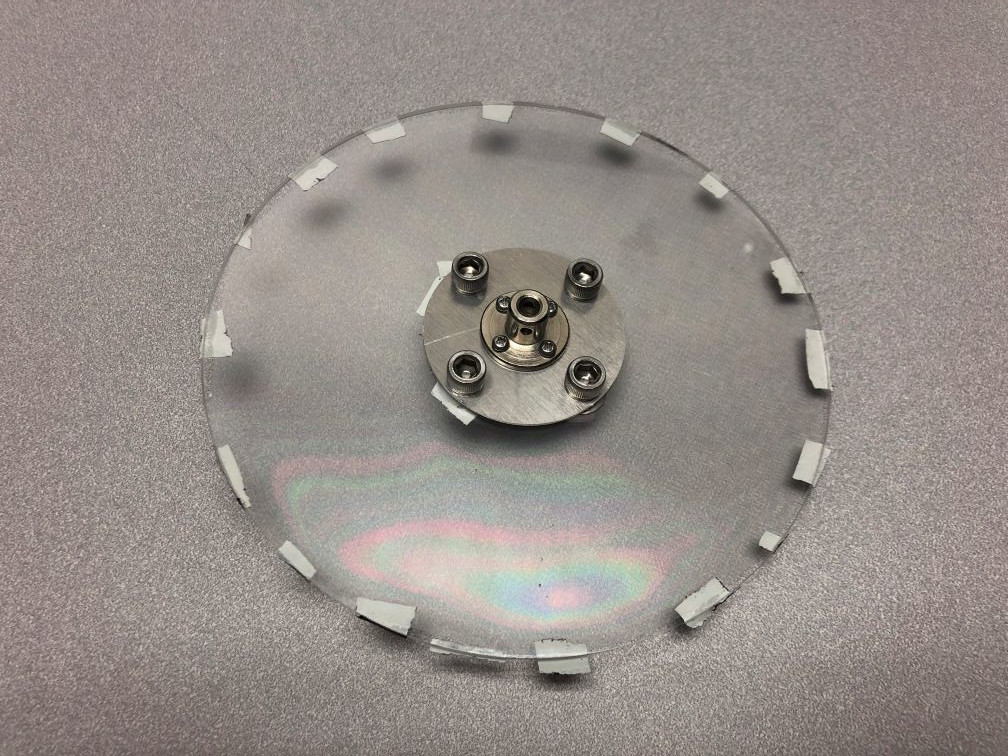
Step 3: Attach the disk to the motor
Make sure to screw everything tightly - we don't want the disk flying off!
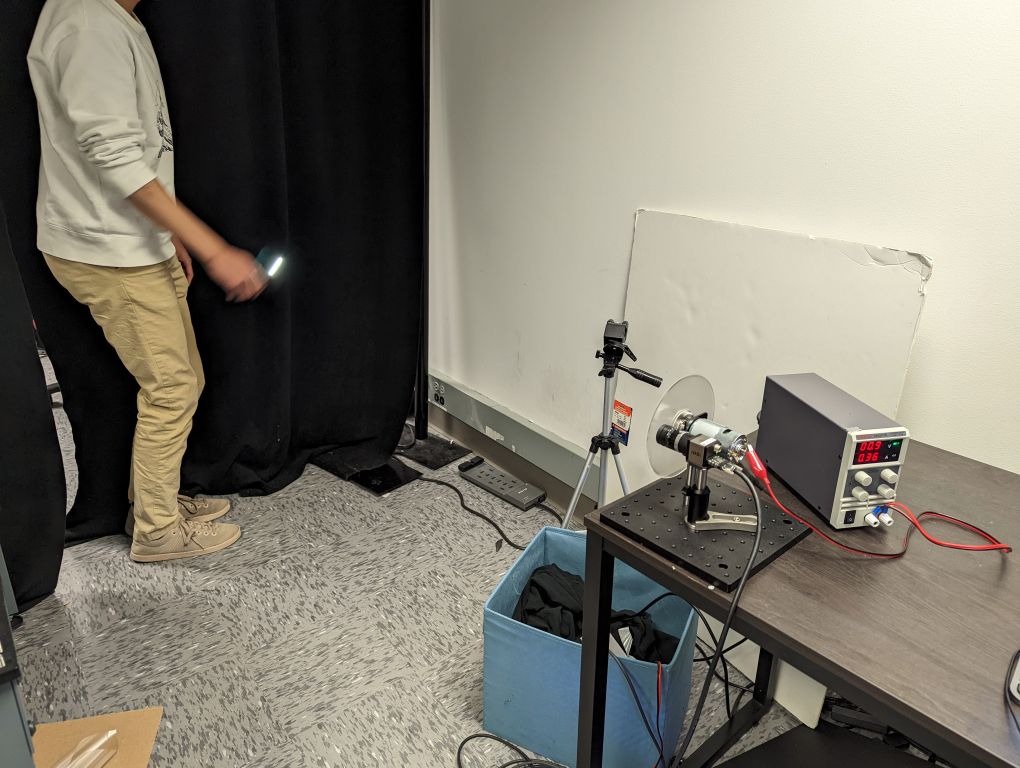
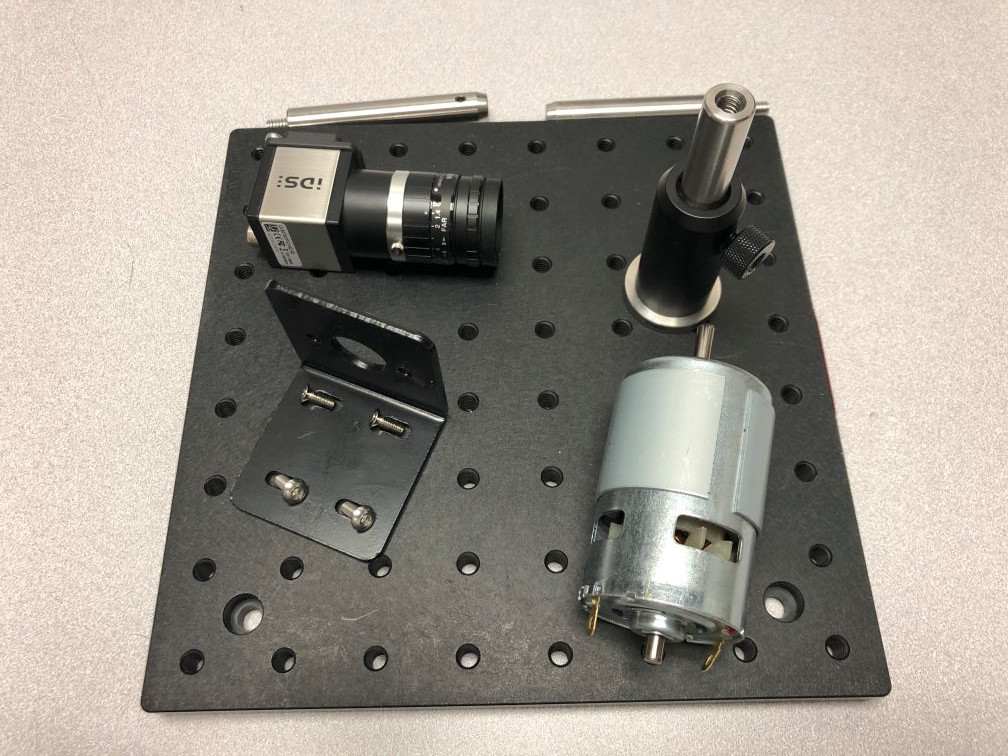
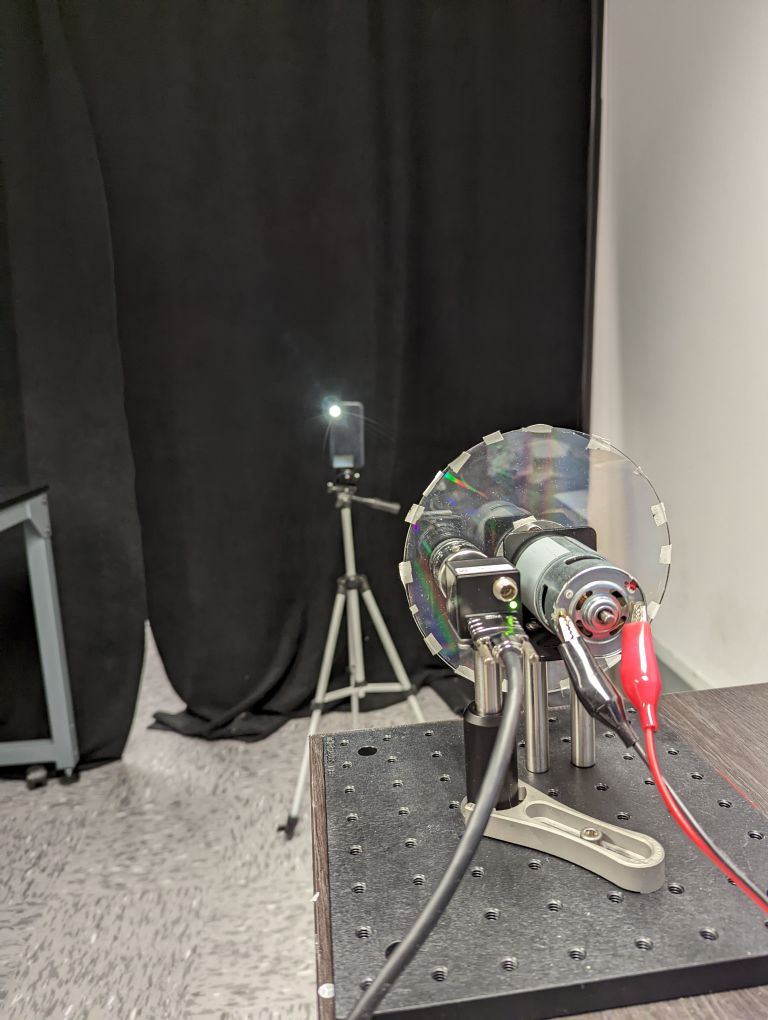
Step 4: Construct setup
We used an optical breadboard setup, but any method should work.

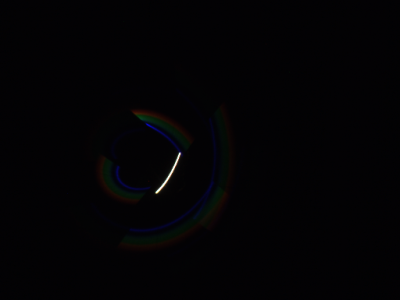
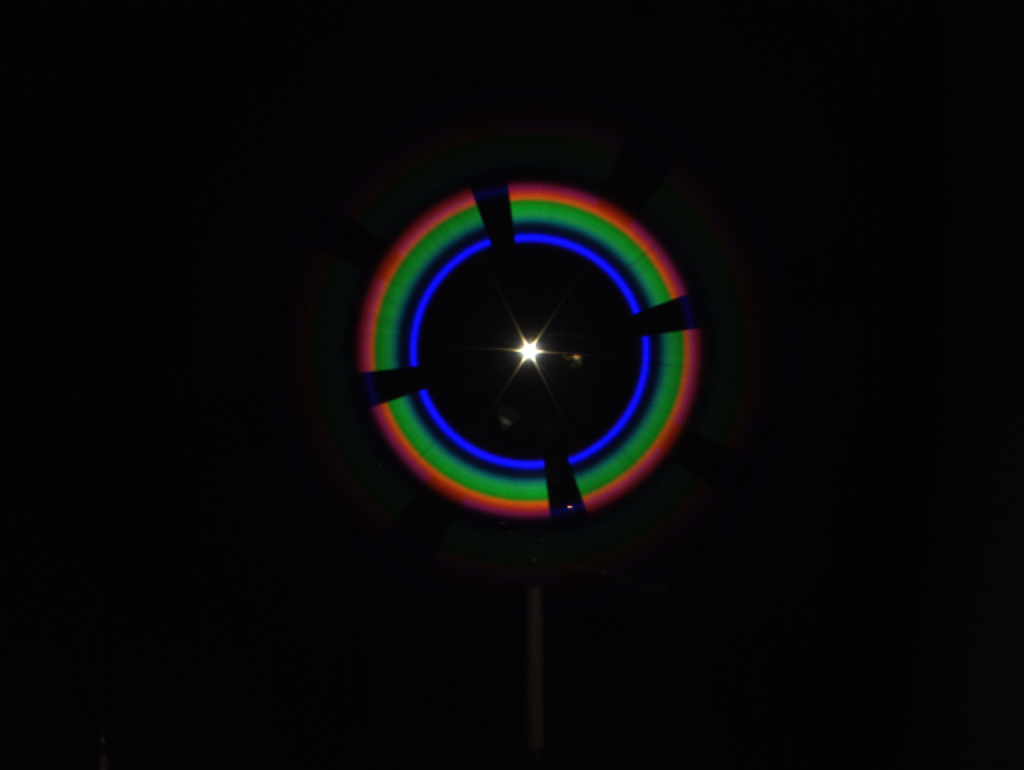
Step 5: Calibrate static PSF
All that's left to do is calibrate the setup! First, we need to calibrate the stationary PSF. Capture an image of a small sample of the material of the sparse objects you want to capture, at roughly the distance you will be imaging at. Ideally, do this with as little background signal, so turn off the lights and try and use a black background. Try and make sure the color streaks are well exposed. In this case, we're imaging the flashlight of a phone.

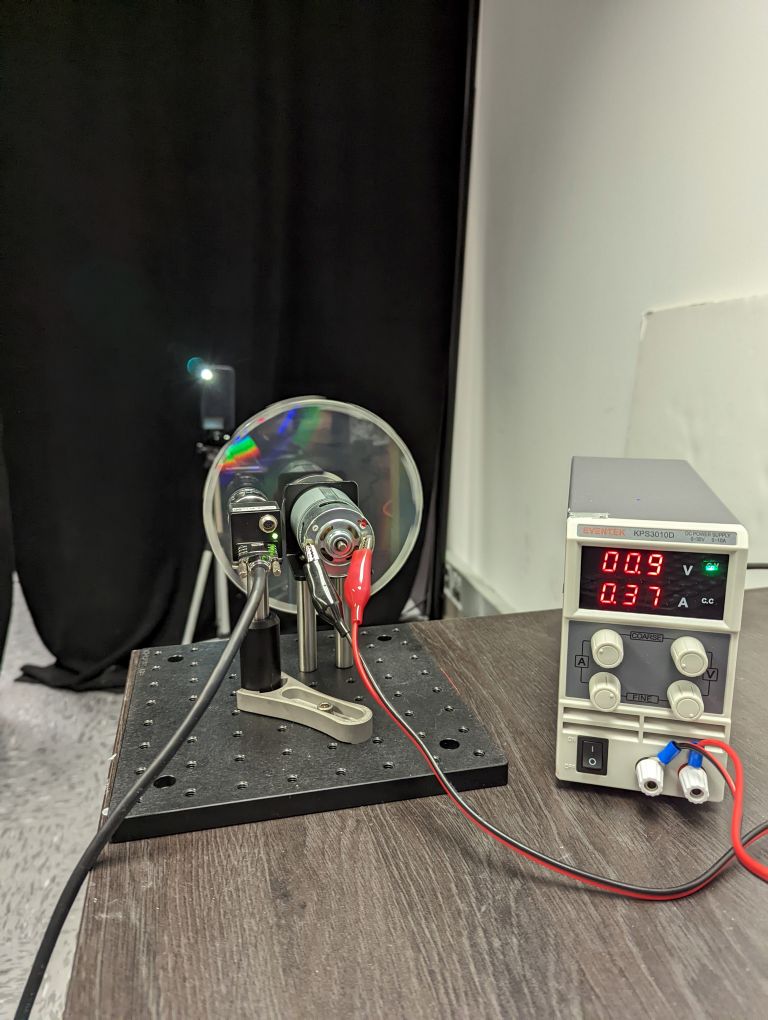
Step 6: Calibrate rotation speed
Next, plug in the motor, and tune its power such that it roughly rotates 90 degrees over the course of your desired camera exposure. The shorter your exposure, the faster your motor will need to be, so try and use a long exposure for safety reasons. In general, err on the side of the motor being slower than necessary - the reconstruction algorithm can handle such cases fairly well, but if the motor moves too fast the reconstructions can suffer. In our case, we used a camera exposure of 22.178 milliseconds with roughly 0.09 volts applied to the motor.
Step 6: Use the setup!
Now use the setup! Take an image of a fast moving scene with the motor running, and tune the gain/aperture of the system to ensure enough light is captured. If your scene is sparse enough, you should get results like below if you plug in the captured images into "code/recover.ipynb".